Local MacOS X Machine Installation
This article provides a step-by-step guide to deploying the Platform on a MacOS X machine using Apache Tomcat as Web Server and Servlet Container. This recipe complements the more general installation guidelines, and provides the specific parameterizations needed for installation on MacOS X.
This article is based on the example of a deployment of Appway 6.3.21 on MacOS X El Capitan using Tomcat 7 and Java 8 (Oracle JDK version 1.8.x). The guide can be adapted to all Platform versions, Java, and Apache Tomcat. Remember to pay attention to compatibility, especially considering that FNZ Studio 2022.2 runs only on Java 11.
Step 1: Setting Up Apache Tomcat
In order to run the Platform on a local machine, you need to install and set up the Apache Tomcat web server and Java Servlet container:
- Go to http://tomcat.apache.org and download the
.zippackage for the desired version of Apache Tomcat. - Create your project directory (e.g:
/Users/<username>/my-project, where<username>is your system username) and unzip the downloaded file into your project directory. Tomcat will be unzipped into directory/Users/<username>/my-project/apache-tomcat-8.x.xx.xx. - For ease of use, shorten and rename this directory to
/Users/<username>/my-project/tomcat.
Look at the installed Tomcat directory. It contains the following sub-directories:
- bin: Contains the startup script (
startup.batfor Windows andstartup.shfor Linux and MacOS X), shutdown script (shutdown.batfor Windows andshutdown.shfor Linux and MacOS X) binaries, as well as other binaries and scripts. - conf: Contains the system-wide configuration files, such as
server.xml,web.xml,context.xml, andtomcat-users.xml. - lib: Contains the Tomcat system-wide JAR files, accessible by all web apps deployed on top of Tomcat. External JAR files (such as MySQL JDBC Driver) can be placed here manually.
- logs: Contains Tomcat log files. You may need to check for error messages here.
- webapps: Contains the web apps to be deployed. You can also place the WAR file for deployment here.
- work: Tomcat's working directory used by JSP, for JSP-to-Servlet conversion.
- temp: Contains temporary files.
Step 2: Setting up the Java JDK
In order to have Tomcat running on your system, make sure that you have the correct Java version installed. Open the terminal and type java -version to check which version of Java you are running.
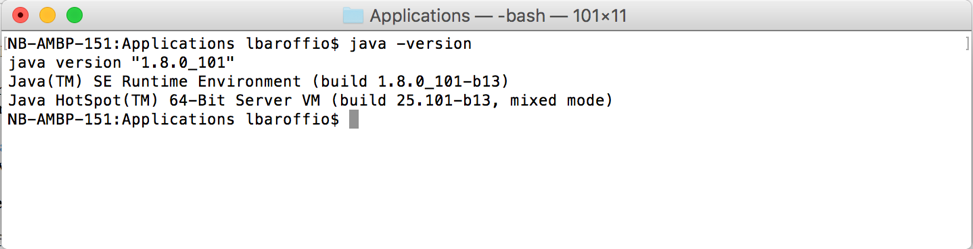
This screenshot shows an example of Java 8 installed on a user's machine.
If Java is not installed, or is not the correct version, go to the Oracle download area and download the latest version for your machine, and install it.
Step 3: Setting up and Starting the Apache Tomcat Server
-
Create the file
setenv.shusing a text editor or download this sample. This file is used to configure the Apache Tomcat environment so that it can properly host the Platform. In the file, you need to specify yourJAVA_HOMEfolder path and some parameters for the Java Virtual Machine, as depicted in Figure 1. You can retrieve the value forJAVA_HOMEby running the following command in a Terminal window:/usr/libexec/java_home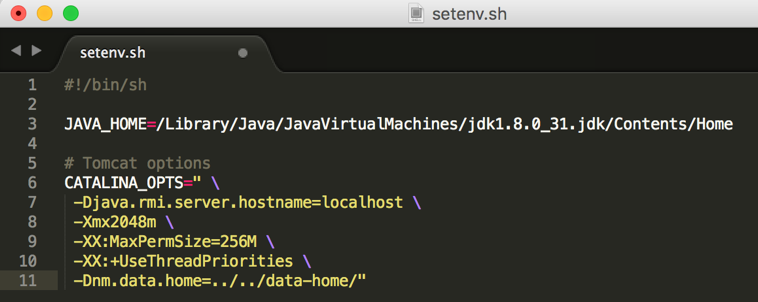
Figure 1 — Setenv.sh
-
Copy the
setenv.shfile in thebinfolder within the tomcat folder (/Users/<username>/my-project/tomcat/bin) -
Give execute permissions to all
.shfiles in thetomcat/binfolder.- Open a terminal
- Navigate to the
tomcat/binfolder [cd /Users/<username>/my-project/tomcat/bin] - Run this command:
chmod +x *.sh(you may needsudo chmod +x *.sh)
-
Run the command
./startup.shin thetomcat/binfolder to start Apache Tomcat. -
(optional) You can tail the Apache Tomcat log using the command:
tail -f ../logs/catalina.out
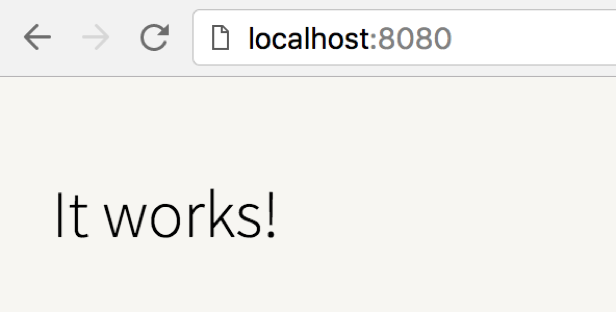
Open a browser window and navigate to http://localhost:8080. If Apache Tomcat was set up correctly, you should see something similar to the screen in Figure 2.
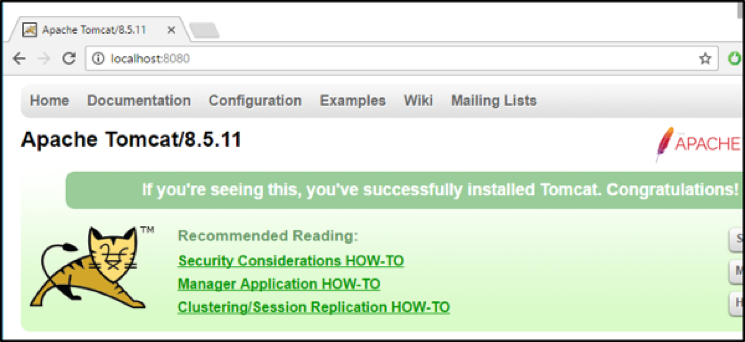
Figure 2 — Apache Tomcat start page
Step 4: Configuring One Node
-
Create a new directory inside
/Users/<username>/my-project/with the name:cluster-storage. This folder is used to model the cluster-wide persistent store. All the nodes need to have access to the same folder: the persistent store. -
Next, create another folder inside
/Users/<username>/my-project/with the name: "node1". This folder is used to model a node. -
Move the Tomcat folder to
node1. -
Create a folder in
/Users/<username>/my-project/node1with the name:data-home. -
Create two subfolders within this data-home folder:
confandextensions.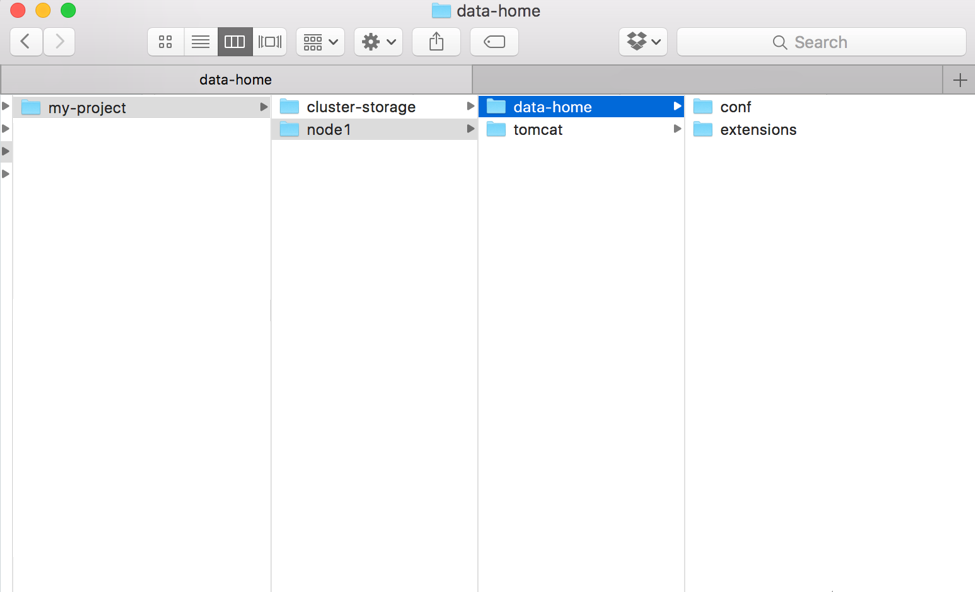
-
Copy the
NmLoginServiceAdapter.jarfile from the provided .zip file to thisextensionsfolder. If you have other extensions to be deployed, copy the respective.jarfiles to the extensions folder.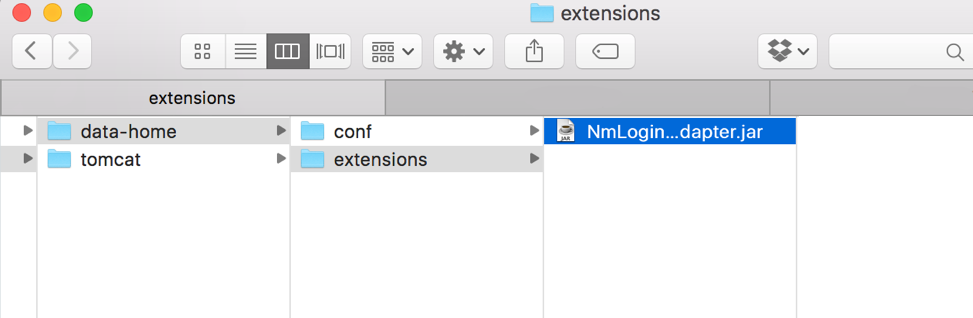
-
Copy the
conf.properties,content.properties,hazelcast.xml, andjaas.conffiles to theconffolder. -
Copy the license file to
…/data-home/conf/license.properties. For a single-node test installation, use the license file which comes packaged in the WAR file. For all other cases, contact Support to request a license file. -
(optional) Open the
conf.propertiesfile with a Text Editor program and change the nodename and UID prefix:
-
(optional) Edit the following line in the
content.propertiesfile to set a name for your instance:nm.system.id = My Appway Instance -
Copy the WAR file (e.g
nm-6.3.4.war) into thetomcat/webappsfolder, rename it toROOT.war, and remove the existingROOTfolder. -
Copy the
NmJAASLoginModules.jartotomcat/libDefine thenmdevrealm in the filetomcat/conf/server.xml. Yourserver.xmlfile should look like this: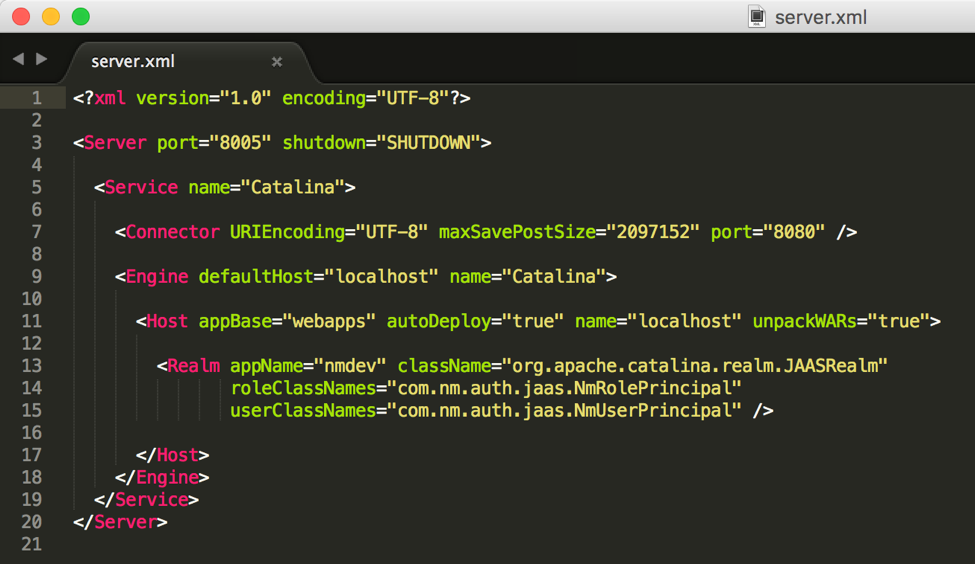
-
Using the Terminal, navigate to your Tomcat bin folder:
/Users/<username>/my-project/node1/node1/tomcat/binand start up the server running the command :./startup.sh -
(optional) You can get the log of Tomcat by running the command:
tail -f ../logs/catalina.out
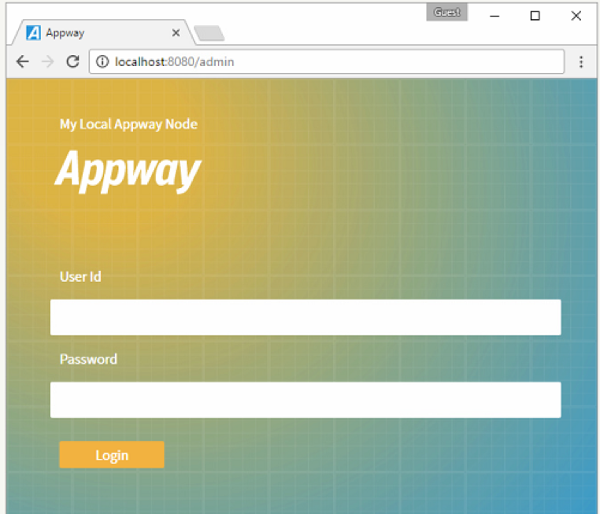
Go back to your browser and navigate to localhost:8080. If everything is working correctly, you should see the following message:
Now go to the localhost:8080/admin page and you should see the login page of FNZ Studio: